Making a point
 Several years ago I made a scrappy quilt top out of 60 degree triangles. The quilt was called "Sailing" and featured large sail boats floating on a sea of 60 degree triangles. I ended up with a boat load of these 60 degree triangles ((they were sewn in pairs) which have been cooling their heels down in my basement. I was leafing though a catalog recently and saw a table runner based on 60 degree triangles. OOH, I thought, there's something I can make out of that boat load of scraps! Of course, it is a picture and I could spend many dollars sending away for the pattern but what fun would there be in that and changes are, the triangles in that table runner area different size than the ones I have on hand. I can figure this out, right???
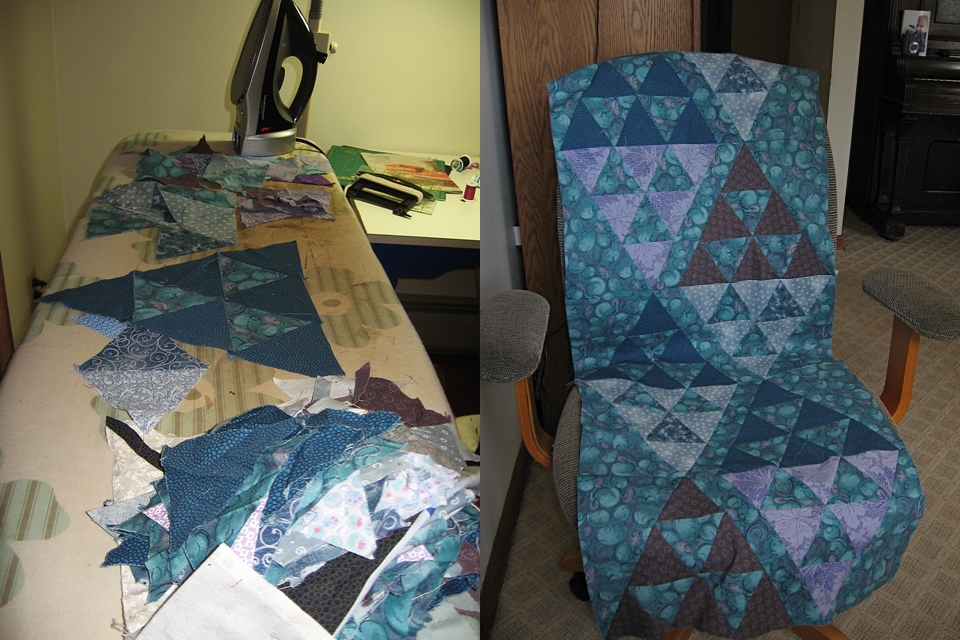
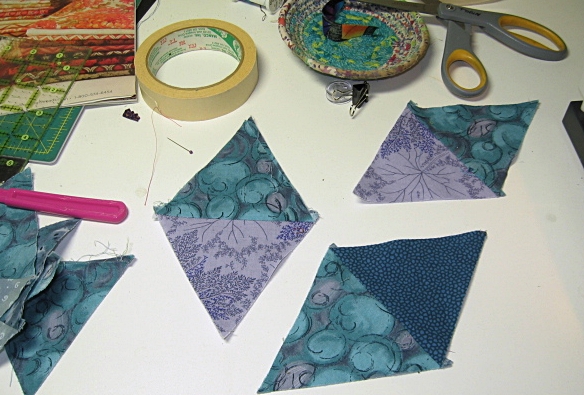
The top right photo shows the sets. I am not even going to hazard a guess on how many of these I had "on hand." First item of business was to press and sort them.. LOTS of sorting went on. I decided to use the same fabric for the inner triangles to lend the piece a bit of cohesiveness and for practical purposes, I had many, many sets of triangles with that fabric in it so I would not need to cut out any more. Once I decided on what triangles I was going to use, I took 3 sets of small triangles and 3 single triangles and made them into a larger one. Iron board photo show this triangle laid out. I needed to make 9 of these larger triangles. I liked the looks of a darker triangle combined with a lighter one to make the diamond shape. I could also see from the picture in the catalog that there was a sashing strip separating each diamond and also a 1/2 diamond along the sides using the sashing fabric. What I didn't know was the width of the sashing or the size of these partial side diamonds. I laid everything out of the bed and it was at this point that I saw that it would be assembled in rows straight across using 1/2 of the diamond, one sashing strip and 2 side triangles. I had no idea what size triangles to cut out or sashing fabric so I just started making it up as I went along. Believe you me, I gotreacquainted with my seam ripper. I had a 6" wide strip of the background fabric and this was what the sashing and side triangles would be cut out of. I decided on a width for the sashing and cut it out 14" long and sewed the first two triangles together with the sashing in between them and then did some trimming. I then hacked off a piece of background fabric for the side triangles but left it whole. I did not attempt to even guess the size. I cut out a 14" long piece from the 6" wide background fabric and attached it to the side of the triangle and basically trimmed it to it;s proper size once it was attached. I custom fit and trimmed ALL the side triangles in this manner. This was all a bit time consuming but I got better at it as I went along. There is something very satisfying about doing that and also picking up a scrap of fabric from off of the floor and seeing that it is sort of the right size and incorporating it into the quilt top.
The nice thing about 60 degree triangles is that they are cut on the bias so they are very forgiving. The very thing that makes them forgiving also makes them difficult to deal with, they stretch all over the place and one has to be VERY careful for to stretch things out of shape. I remembered from working with 60 degree triangles before that there was no way I was going to get all those points to match and I could easily drive myself crazy trying to do that so I simply accepted that some of the points weren't going to line up perfectly. If this quilt top was more high contrast the matching of the points would be more critical. This table topper/runner/wall hanging ended up being 20' wide and 50' long. It is the fist time I have made something where I had no idea what size it was going to end of being. I do like the over all effect of it. I still have a boat load of those 60 degree triangle sets left. If you know anyone who might want them, let me know!
- Sandy's blog
- Log in to post comments

 Click here to see us on Facebook
  Follow Me on Pinterest